Price your products
Set a retail price on your own store that covers your make cost and the profit you want to keep, and charge shipping at checkout.
4 min read
PrintPort never stores a retail price. You set that on your own store. This page explains the two numbers PrintPort does give you — the make cost and the break-even — and how to price above them so every sale earns.
Where your retail price lives
A PrintPort product has a name, a SKU, the designs and materials it is made from, and a make cost. It does not have a retail price field. There is nowhere in PrintPort to enter a selling price. That number lives entirely on your store listing.
This follows from how the money flows. Your customer pays you through your own store. PrintPort charges your card the make cost to produce the unit — there is no payout and no wallet. The selling price is yours to set and yours alone to change. See How you get paid for the full money model.
PrintPort cannot set or change your price
Reading the make cost and break-even
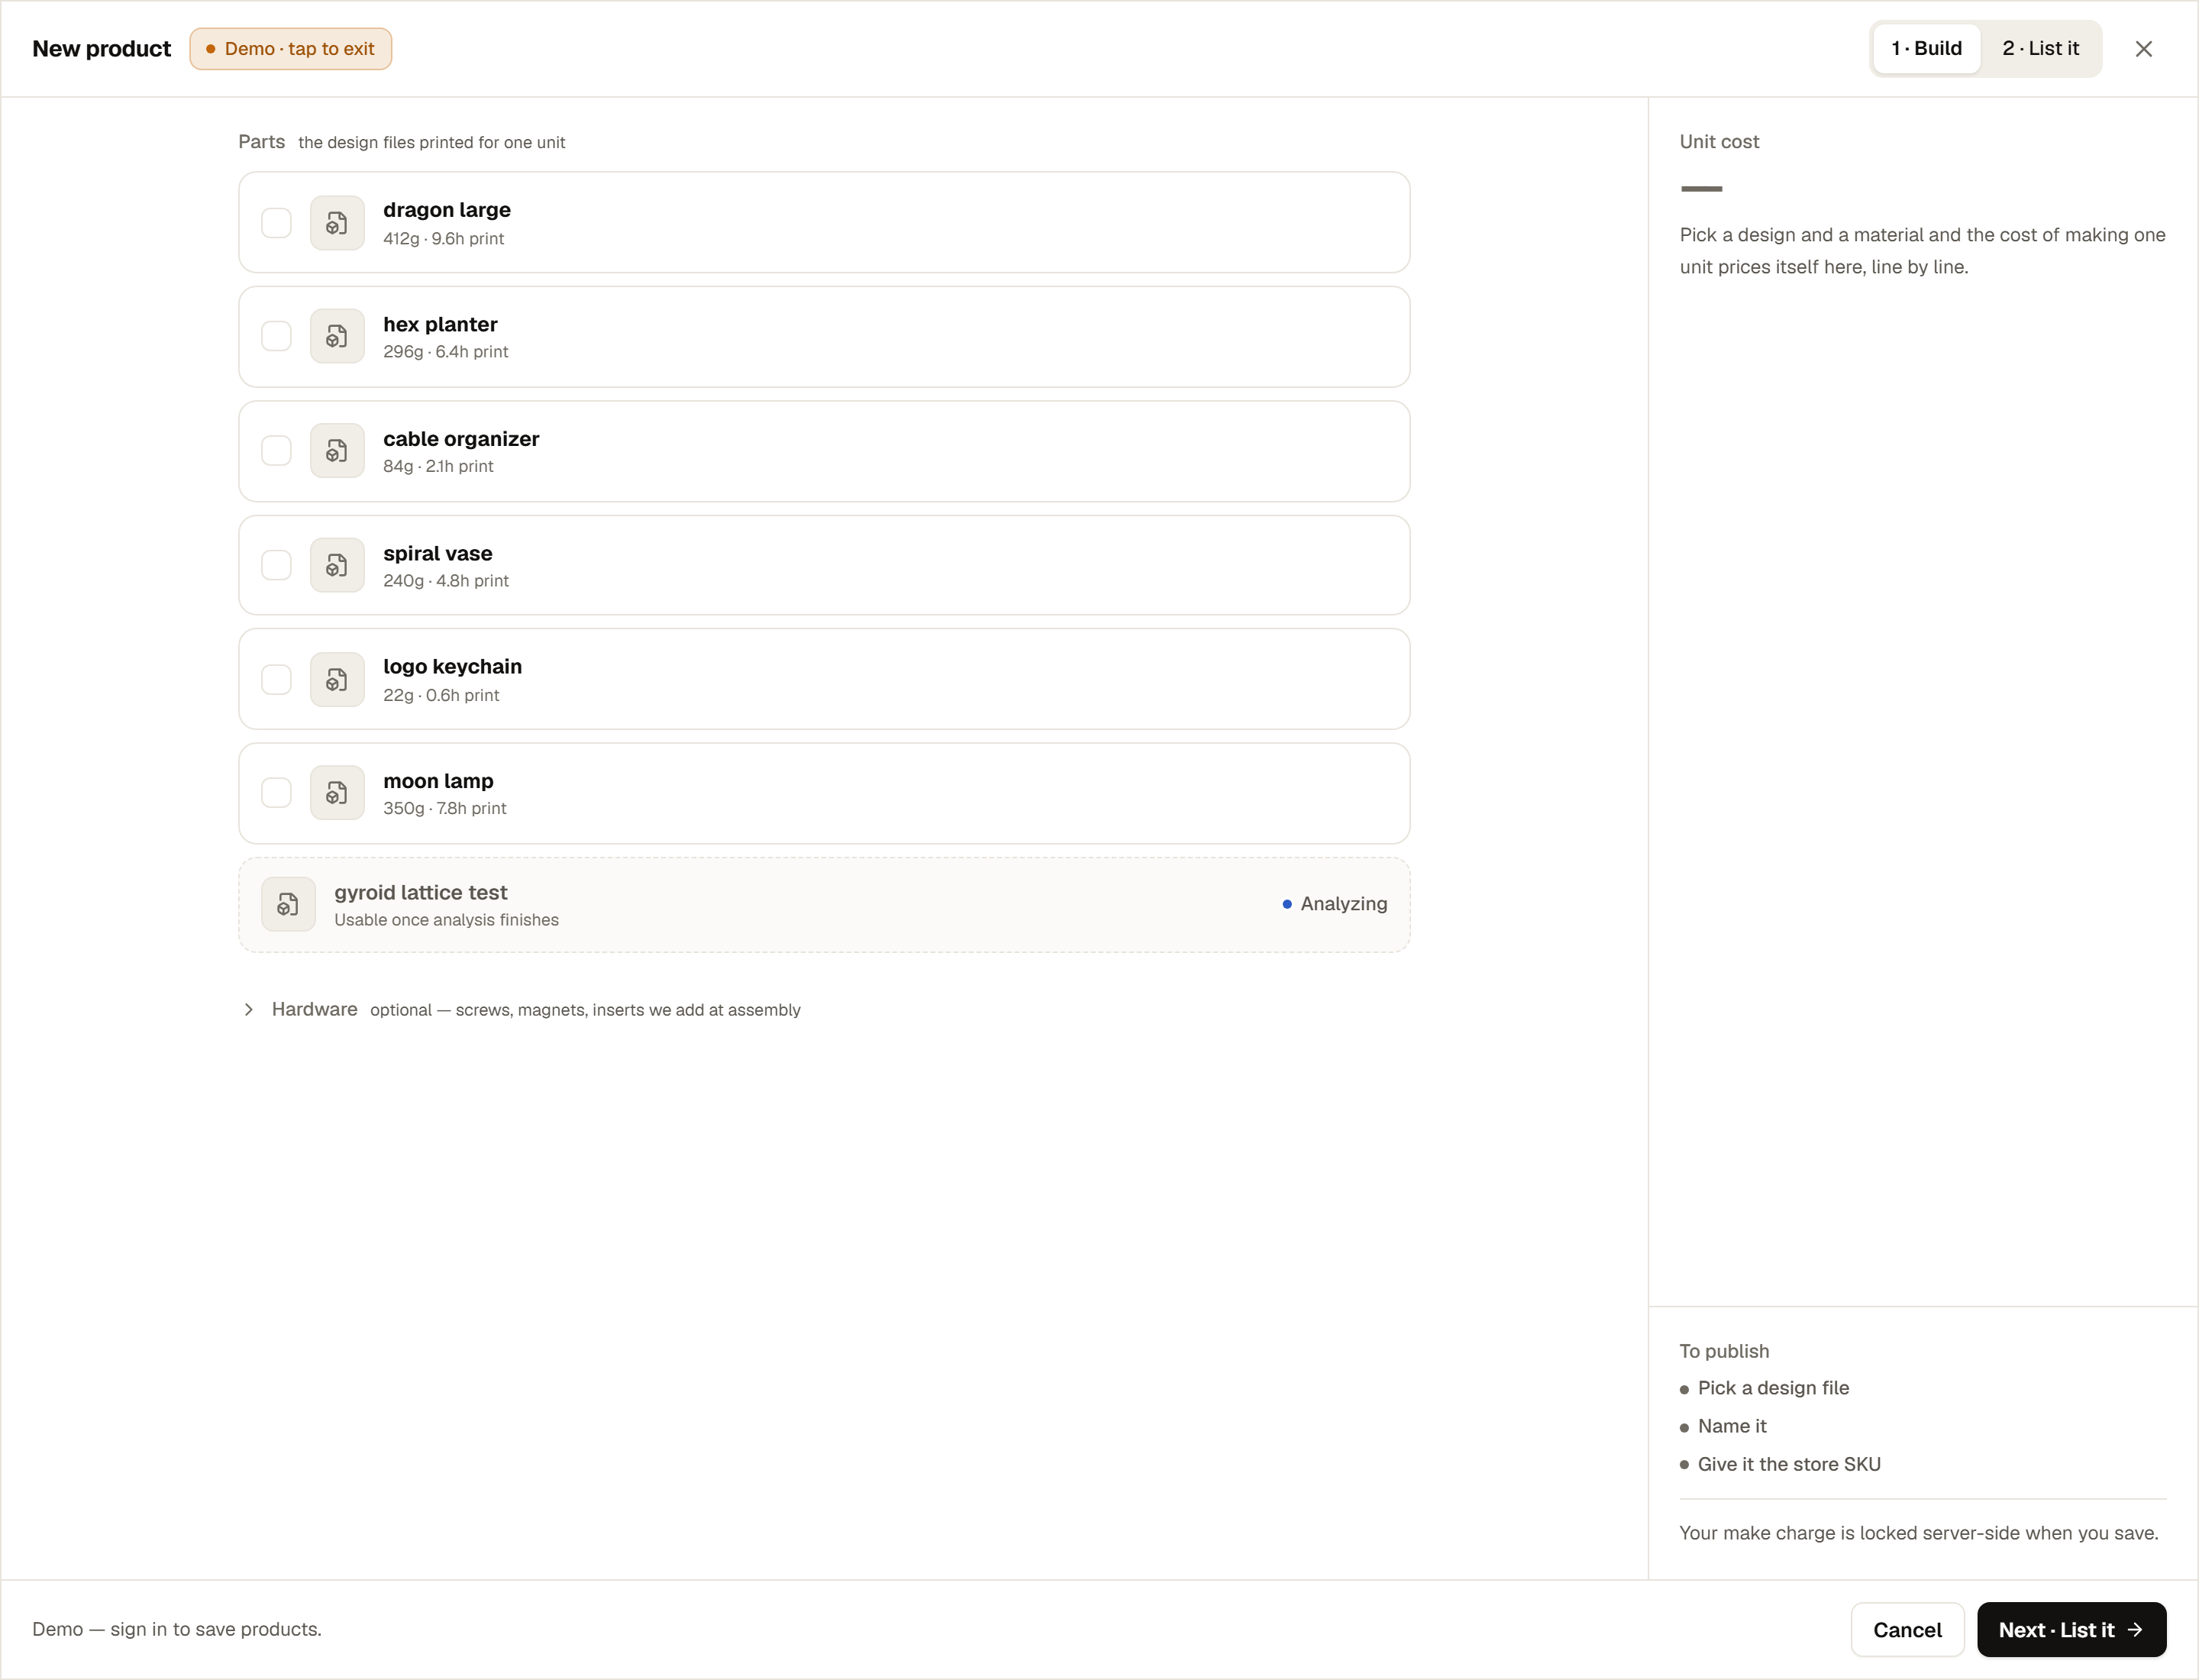
As you build a product, a live receipt rail prices every choice for you. Two numbers on it are the ones you price against.
- Make costper unit
- What PrintPort charges your card to produce one unit:
material + labor + hardware. This is the only thing your card is charged, and every order is billed at least $2.00 of it. - Break-evenper unit
- The make cost, or the $2.00 order minimum when the make cost is lower, since an order of one is billed at least that. Price below it and you lose money on the sale. Shipping is not in it: your customer pays shipping at checkout.
The receipt shows the per-line grams and print-hours behind the make cost. Below the break-even it shows a live shipping estimate for the parcel, as a guide to what to charge for shipping on your store. That figure is a real Shippo rate, but quoted to a fixed typical US address rather than your buyer’s, so the label on the real order may differ slightly.
An “estimate” badge means a number is still settling
Setting your price
Pricing takes three steps: read your break-even off the receipt, add the profit you want, and put that number on your store listing. PrintPort holds your make cost steady between listing and fulfillment, so the break-even you see is the break-even you get.
- 1
Note your break-even
In the composer receipt, read the break-even (the make cost). That is the lowest a single sale can go without losing money. - 2
Add your margin
Decide what you want to keep per unit and add it on top. Your approximate take-home isitem price − make cost, with the shipping your customer pays covering the label. - 3
Set the price on your store, not in PrintPort
Enter the price on your store listing — the Shopify, Etsy, Amazon, or other product page that carries your SKU — and charge shipping at checkout. No part of the price is entered in PrintPort.
Break-even is $12.60. Price your store listing at $22.99 and charge shipping at checkout. After PrintPort charges your card the $12.60 make cost you keep roughly $10.39 per sale, and the shipping your customer paid covers the label (about $6 to a typical US address; the receipt shows the live estimate).
The label is not part of your card charge
Observed retail
Once you have sales, PrintPort shows an observed retail next to each product. This is not a price you set. It is the median of your real past order line-item prices for that SKU, read from your own order history. Because it is reconstructed from what customers actually paid, it is always an estimate, and it reads — until a product has sold.
Observed retail appears on the product cards and drawer in your Catalog, and it powers the profit-by-product table on the Finance page. It is how PrintPort estimates your margin without ever storing your price.
Why it moves slowly
The “Below cost” alert
PrintPort compares your observed retail against a price floor — your make cost plus the average label on that product’s past orders, once one has been seen. When observed retail falls under that floor, the product is flagged Below cost: your recorded sales are not covering what it costs to make and ship the unit.
Where it appears:
- In the Catalog, an amber hero counts how many products are below cost, each card gets a Below cost chip, and a show them toggle filters to just those.
- On the Finance page, affected products carry a below cost badge, and a see which prices to fix link appears when your net profit goes negative.
- 1
Open the flagged product
Use the show them filter in the Catalog, or the Finance page link, to find every product that is below cost. - 2
Check its floor
Open the product to see its unit economics: the make cost, the average label, and the floor your price has to clear. - 3
Raise the price on your store
Edit the store listing, not PrintPort, and set the price comfortably above break-even. The fix always happens on your store, because that is the only place your price lives.
The alert clears from your store, over time