Connect Shippo
Authorize Shippo once to bring orders from every sales channel into PrintPort3D and buy shipping labels.
4 min read
Shippo is the single connection that carries your store orders into PrintPort3D and buys your shipping labels. You authorize it once, through a two-step approval on Shippo’s site. There are no carrier logins and no API keys to manage.
Why PrintPort3D uses Shippo
PrintPort3D does not integrate directly with Shopify, Etsy, or Amazon. Every storefront connects to Shippo, and PrintPort3D reads your orders from Shippo. A single connection covers every channel you sell on, whether that is one store or five.
The same connection also buys each order’s shipping label, so authorizing Shippo here handles both order sync and label purchasing.
This is one of two connections
PrintPort3D recognizes eleven storefront platforms: Shopify, Etsy, Amazon, TikTok Shop, eBay, Walmart, WooCommerce, Wix, Squarespace, Magento 2, and BigCommerce. See Supported platforms for the full list.
Before you start: verify your email
Connecting Shippo requires a verified email address. This is enforced at the API level, so the connect button cannot begin authorization until your email is confirmed.
- If you signed up with Google, your email is verified automatically. You can connect immediately.
- If you signed up with an email and password, click the link in the verification email first. Until then, connecting and most of your Workspace remain locked.
For full details, see Create your account.
Connecting Shippo
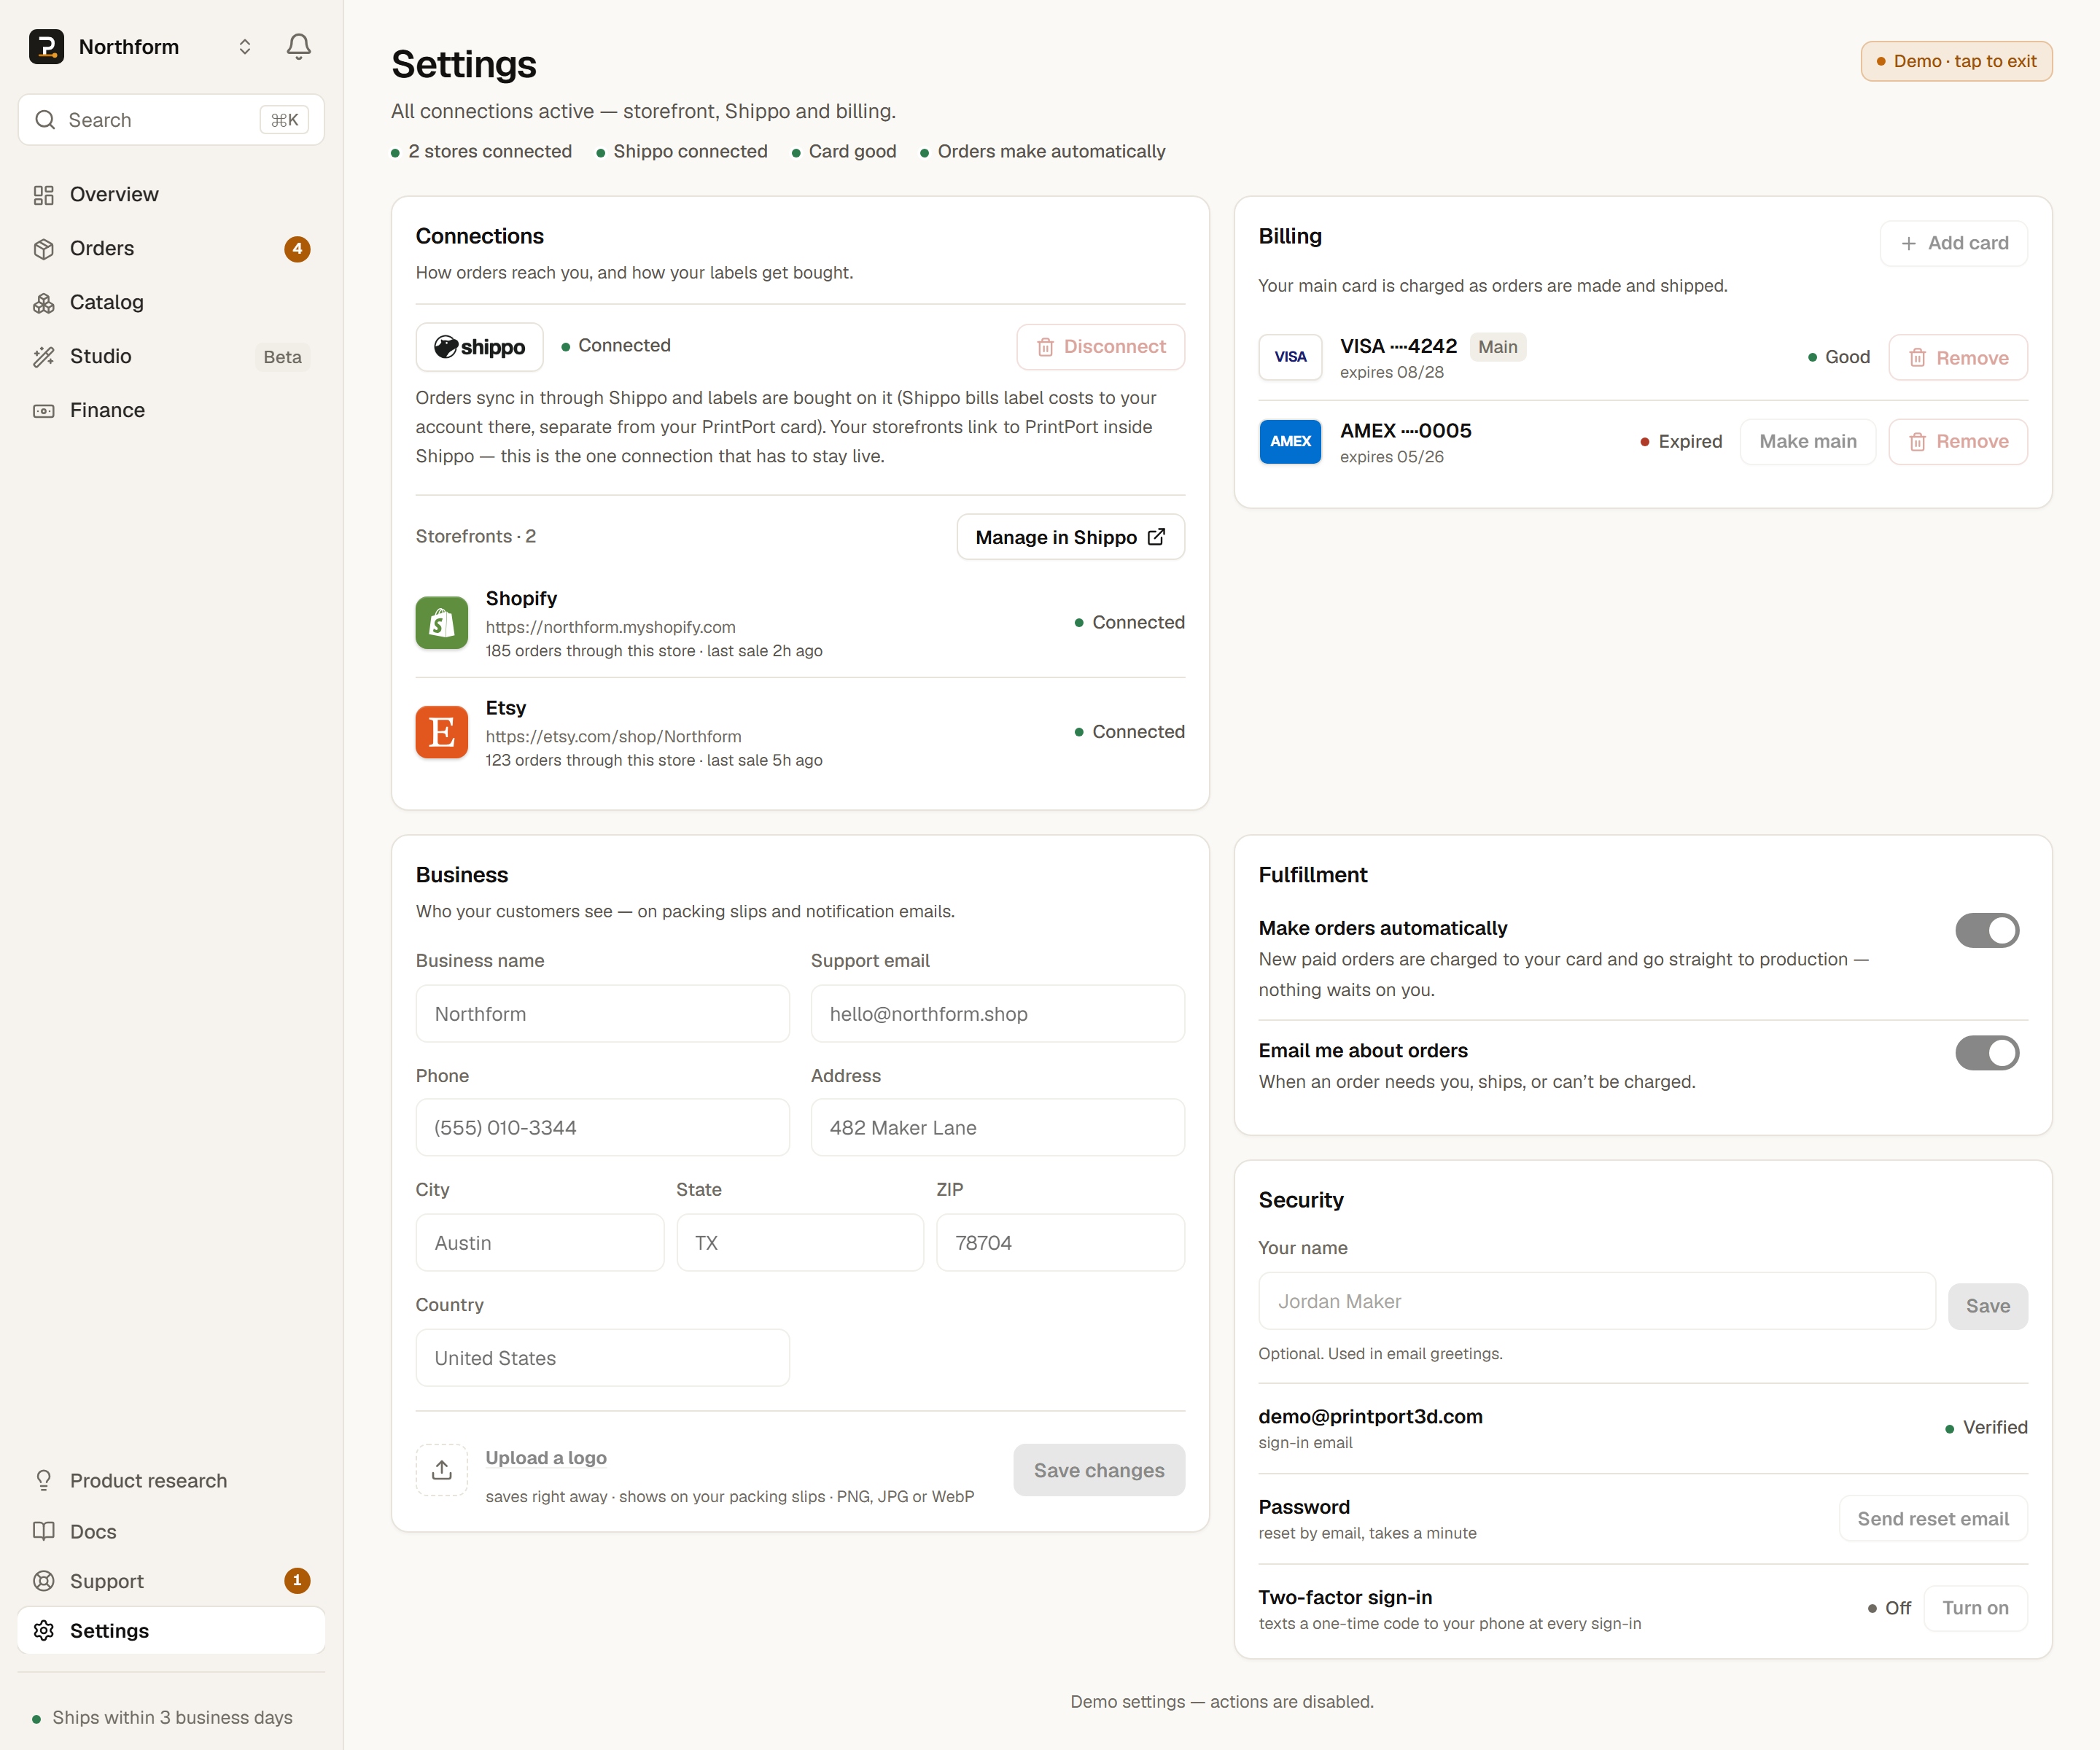
Connecting happens in Settings → Connections, where Shippo leads the panel. The Connect Shippo setup step on a new account’s Overview links you straight there.
- 1
Open Settings → Connections
From the dashboard checklist, click Connect Shippo, or open Settings → Connections directly at any time. - 2
Click Connect Shippo
A Shippo window opens. Sign in to your existing Shippo account or create a free one, then authorize PrintPort3D. You approve the link on Shippo’s side, not within PrintPort3D. - 3
Return to PrintPort3D
Shippo returns you to Settings, which shows a green “Shipping connected” banner and marks Shippo as connected.
Once the link is active, PrintPort3D can:
- Sync orders from every store connected inside Shippo
- Buy each shipping label on your own Shippo account
- Read tracking back so your buyers can follow their shipment
If the connection does not finish, try again
How your Shippo credentials are protected
Because you authorize inside Shippo, your Shippo email and password never reach PrintPort3D. What PrintPort3D receives is a scoped access token, which is protected before it is stored.
- OAuth, not passwords
- You approve the connection on Shippo’s own site. PrintPort3D never sees or stores your Shippo login.
- Encrypted at restAES-256-GCM
- The access token Shippo issues is encrypted before it is saved. It is never stored in plain text.
- Scoped to your account
- Every connection action verifies that it belongs to your own account. No one else can read or change your link.
- Verified on each visit
- Settings re-checks the token against Shippo each time you open it. If the link goes stale, it resets to “Not connected” rather than reporting a false status.
To unlink, use the two-step Disconnect in Settings. It confirms with “Really disconnect?” before removing the stored token.
Connecting later
Nothing else waits on this step — the whole workspace is open from the moment your email is verified, and the checklist simply keeps showing Shippo as unfinished until you connect it from Settings.
Without Shippo, no orders arrive and no labels can be printed
Your payment card is charged only the make cost to produce each order. Marketplace shipping labels bill to your own connected Shippo account, never to the make-cost charge. See How you get paid for the full money model.
Next steps
Connecting Shippo here is only half of the setup. Orders begin flowing once you attach your storefront inside Shippo’s dashboard, which is the step that turns on order sync.