Quickstart
Go from a new account to your first live product in about 15 minutes.
5 min read
This guide takes a new account to a real, sellable product in about fifteen minutes. It covers eight steps, each linking to its full guide. Complete them in order, from top to bottom.
Before you start
Have the following ready before you begin:
- A store you already sell on, using one of the 11 supported platforms
- A free Shippo account (you can create or sign in to one during setup)
- A 3D file in STL, OBJ, 3MF, or STEP format, or a design generated in Studio
- A payment card, which is the card charged to make each order
- About 15 minutes
Every storefront connects to PrintPort3D through Shippo. There are no direct marketplace integrations. The 11 supported platforms are Shopify, Etsy, Amazon, TikTok Shop, eBay, Walmart, WooCommerce, Wix, Squarespace, Magento 2, and BigCommerce. See Supported platforms for the full list.
Email verification is required first
Setup steps
After you sign up, Overview shows Get started — the setup steps, with the next one opened up (see Get started: the setup steps). This quickstart walks the whole path from account to first order, in the order below.
- 1
Create your account and verify your email
Sign up with email and password, or with Google. Email and password users receive a verification email; click the link and the page advances automatically once it detects the click. Google users are verified instantly. The rest of setup stays locked until your email is verified. See Create your account. - 2
Connect Shippo
From Get started or Settings → Connections, click Connect Shippo, sign in to or create your free Shippo account, and authorize PrintPort3D. Shippo is the channel that carries your orders in — there are no direct marketplace integrations. See Connect Shippo. - 3
Link your store inside Shippo
Open your Shippo dashboard and attach your storefront there. This is the step that routes your orders through to PrintPort3D. PrintPort3D reads your connected stores live from Shippo, so there is no separate store-connection step on our side. See Link your store in Shippo. - 4
Add your payment card
In Settings → Billing, save the card that PrintPort3D charges to make each order. We charge you the make cost and never charge your customer. There is no payout, wallet, or escrow. Your customer pays you through your own store. See Add your payment card. - 5
Upload or generate a design
Your Catalog is open as soon as your email is verified. Upload a 3D file in STL, OBJ, 3MF, or STEP format, up to 500 MB, and we analyze it for weight, print time, and size. STL and 3MF are the most reliable formats. Alternatively, describe what you want in Studio and it generates the design for you. See Upload a design. - 6
Build a product with a SKU
In the Catalog, select New product. Choose your design and the number of copies, select a material and color for each, add hardware if needed, then name the product and assign a SKU (we uppercase it for you). PrintPort3D prices every choice live and shows your make cost and break-even. There is no retail-price field here; you set your price on your store. Save and publish. See Create a product and The SKU link. - 7
Add the SKU to your store listing
PrintPort3D does not create or push a listing for you. Create the listing yourself on your store and add the PrintPort3D SKU to it. Matching ignores letter case and any leading or trailing spaces, so you do not need to reproduce the uppercase form exactly. Every other character must match, however, so use the same hyphens and characters we used and avoid typos. The SKU is the only link between your store order and your product. See Publish to your store. - 8
Receive and fulfill orders
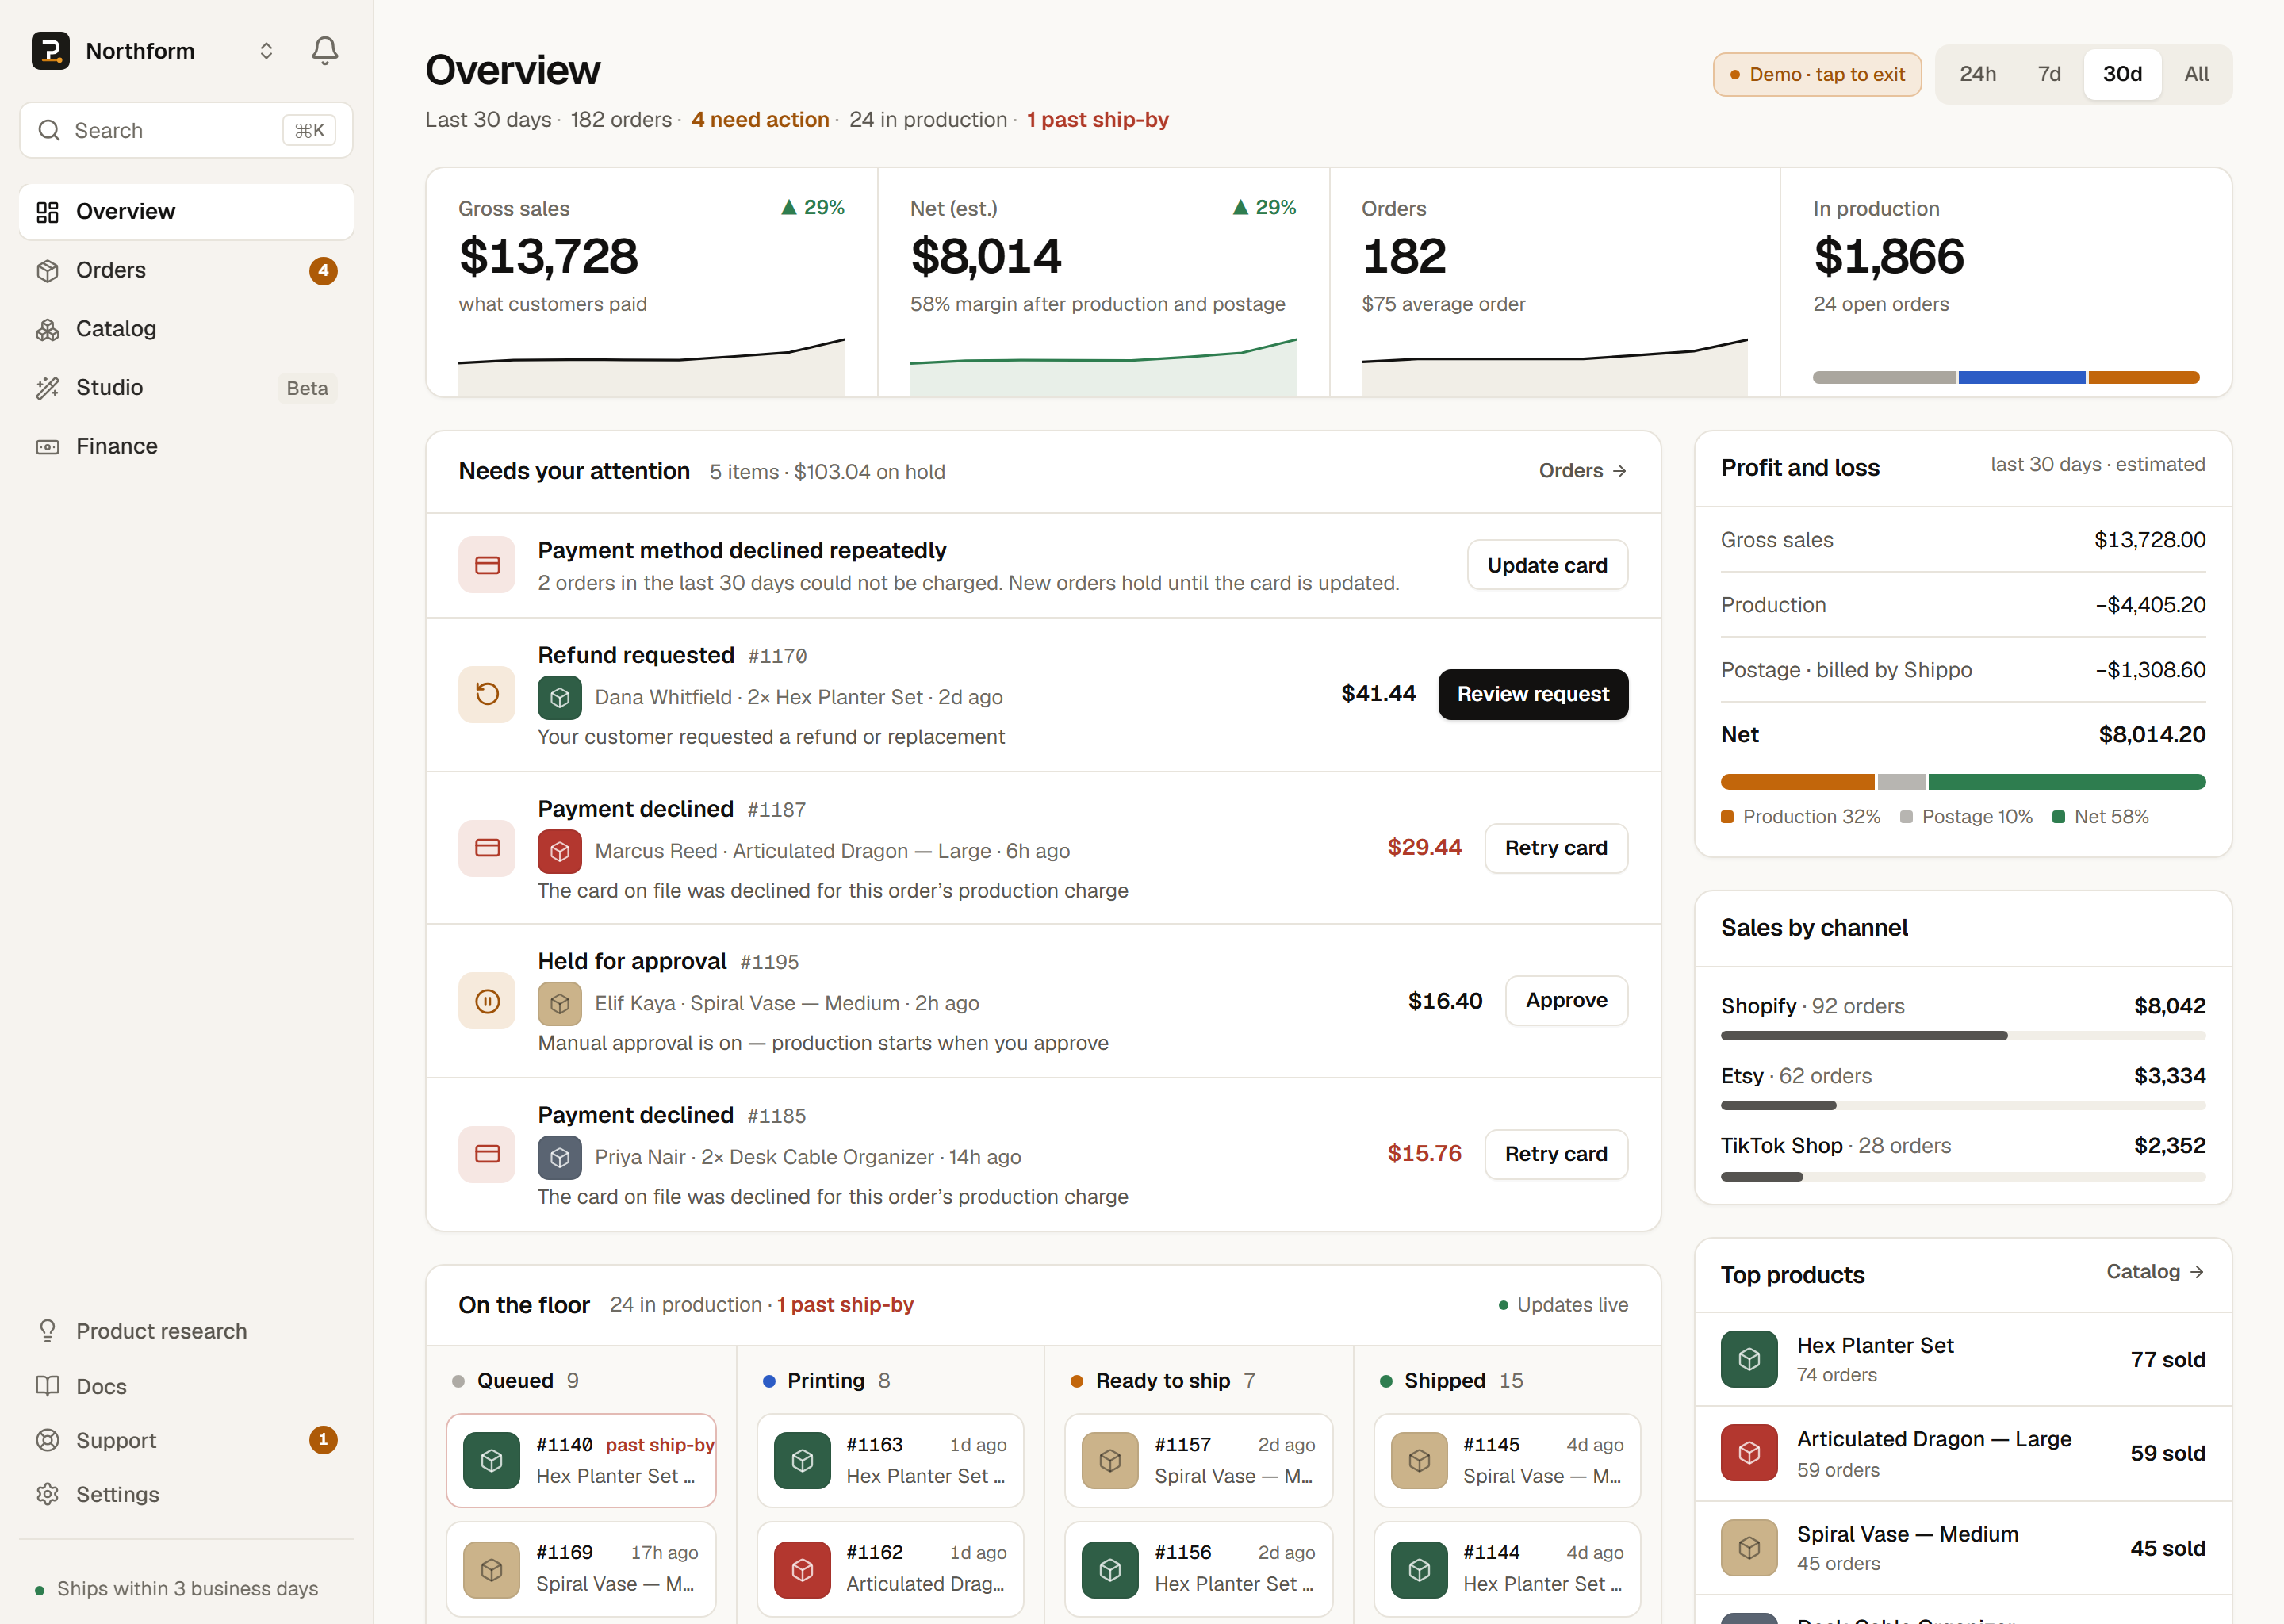
When a customer buys, the order flows from your store to Shippo to PrintPort3D and appears on your Orders page, which updates live. By default, you approve each order before it is made: select Approve, and we print, pack, and ship it from our warehouse in Orange, CA. To run hands-off, enable automatic fulfillment in Settings, and orders flow through untouched.
The checklist never blocks your workspace
How you're charged
There is no payout and no escrow. PrintPort3D charges your saved card the make cost of each order: material at real inventory price per gram, multiplied by the sliced weight, plus labor at $3 per print-hour. Hardware adds its part price with no labor, and assembly, if you choose it, adds $1.00 per part. Every order is billed at least $2.00 to make. Shipping labels are billed separately; marketplace-order labels bill to your own connected Shippo account.
Your customer pays you through your own store. Your net profit is therefore an estimate of what your customer paid, minus the make cost, minus the shipping label.
Suppose one unit takes about two hours to print. Labor is $3 for each hour, for a total of $6, plus the material it uses. That total is the make cost we charge your card. Your customer paid your store's price; subtract the make cost and the shipping label, and the remainder is your profit.
When your card is charged
Next steps
Setup is complete. Explore any part of the workflow in more detail below, or monitor your /orders page for your first sale.